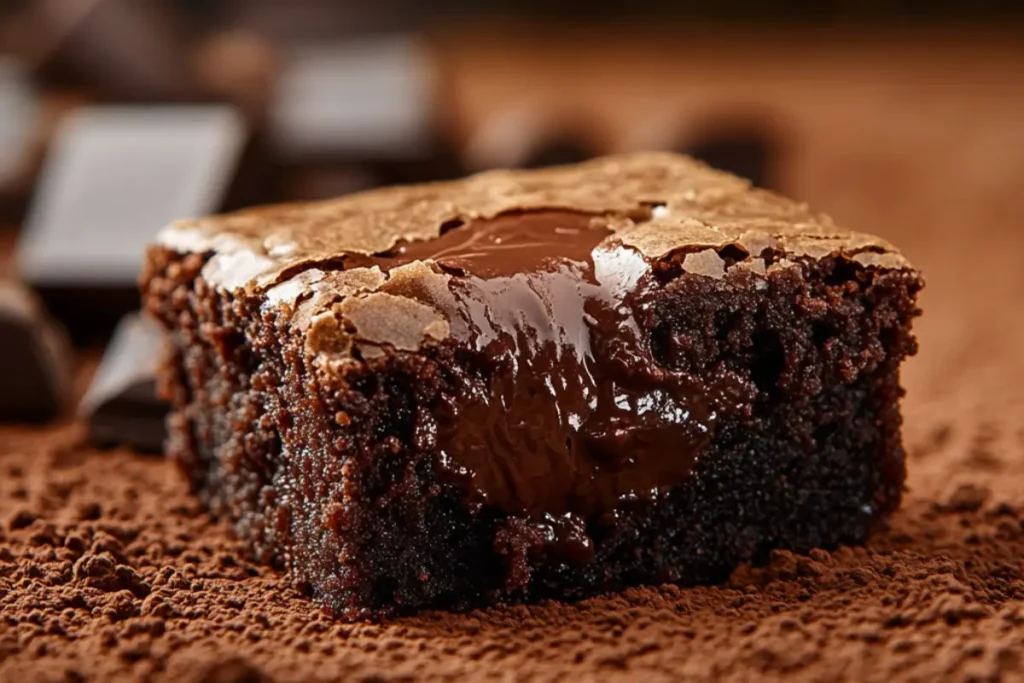
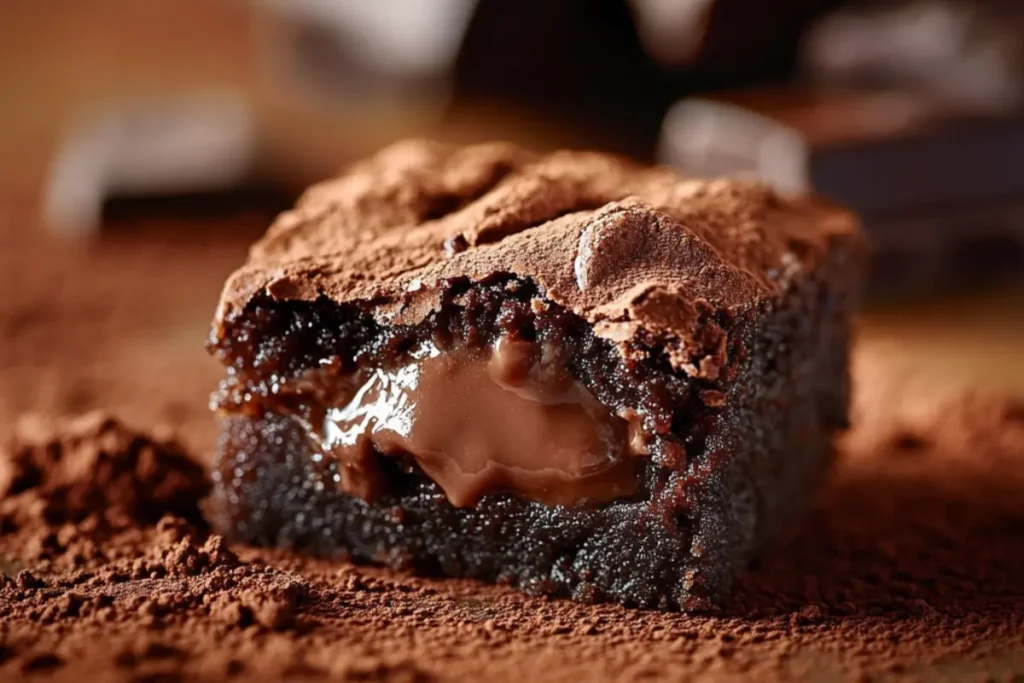
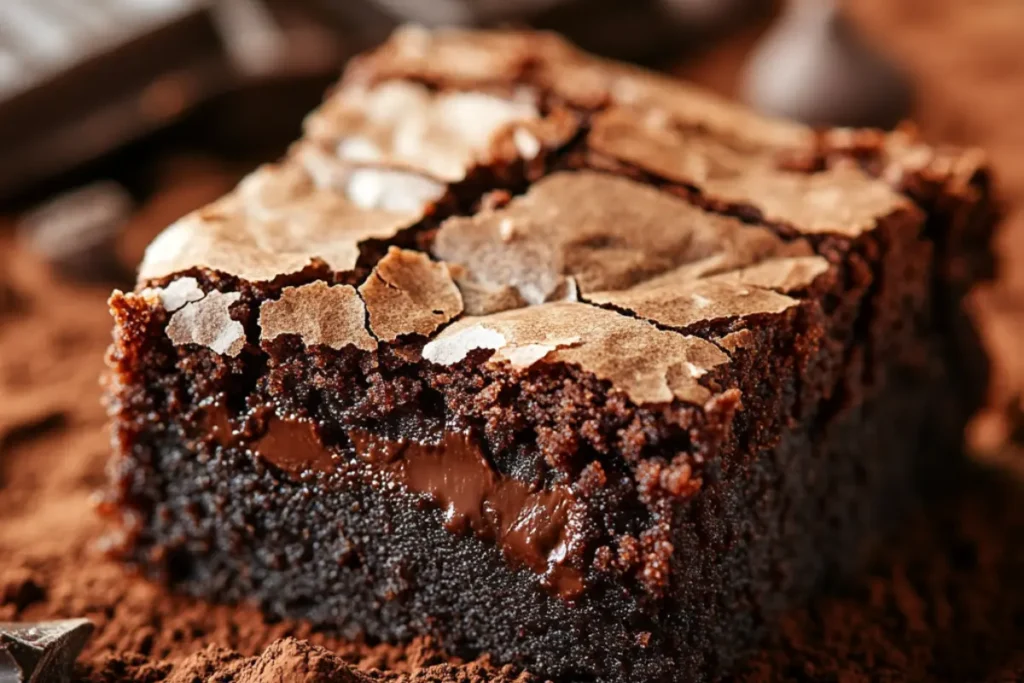
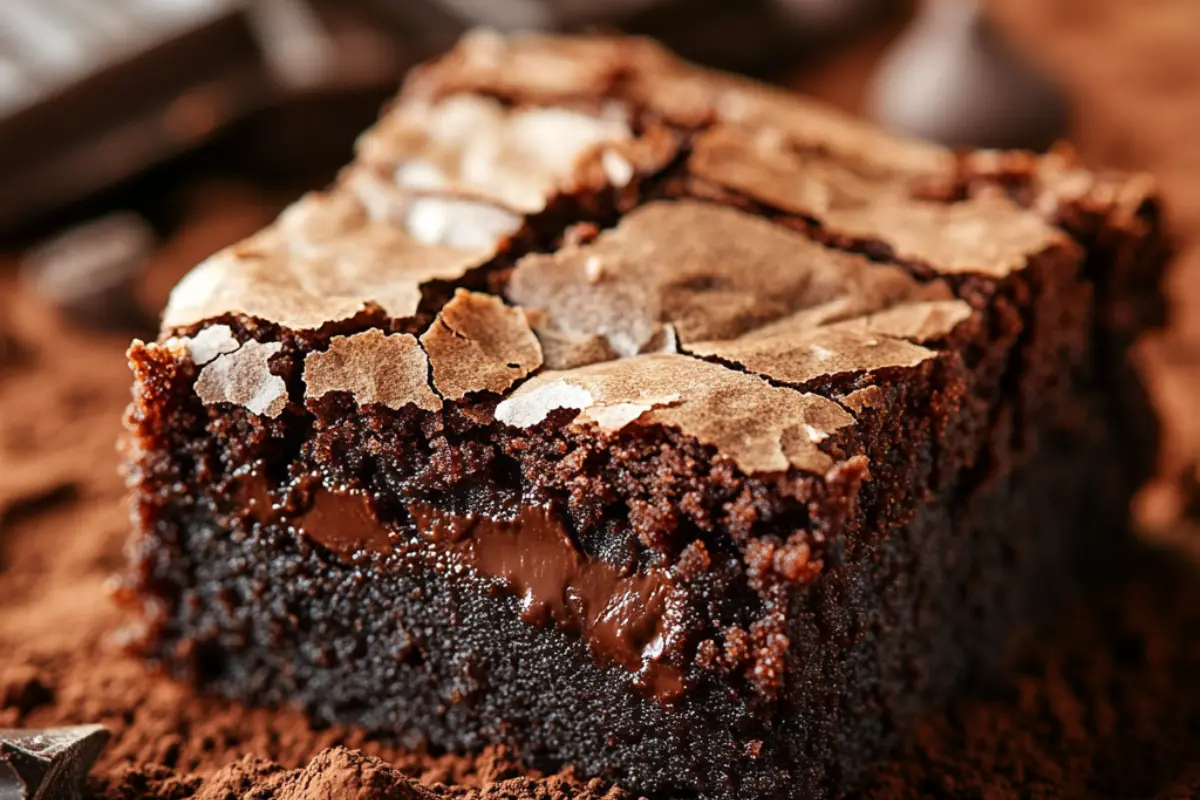
If you’re craving delicious, bite-sized treats, this Mini brownie recipe is exactly what you need! These mini brownies are fudgy, rich, and easy to make, making them perfect for parties, snacks, or just a chocolate fix.
Why You’ll Love This Mini brownie recipe
So, why is everyone crazy about Mini brownie recipe? Well, their compact size makes them easy to serve, store, and enjoy. No slicing required! They’re the perfect addition to any dessert table, whether you’re hosting a family gathering or whipping up treats for a bake sale. Plus, brownie bites are customizable—you can add chocolate chips, nuts, caramel, or even frost them for an extra touch. It’s no wonder these mini brownies have become a household favorite.
Key Characteristics of Brownie Bites
- Perfectly portioned: Each brownie bite is a delightful, single-serving dessert that satisfies your sweet cravings without overindulging.
- Rich chocolate flavor: Made with cocoa-rich brownies, these bites boast an intense chocolaty flavor, enhanced by chocolate chips or other mix-ins.
- Crispy edges with a gooey center: Thanks to their size, brownie bites offer the best of both worlds—crispy edges for texture lovers and gooey centers for those who adore soft, fudgy brownies.
With their irresistible texture and flavor, brownie bites are a dessert that never disappoints. Up next, we’ll explore the ingredients you’ll need to create your own brownie bites masterpiece!
Ingredients Breakdown for the Perfect Brownie Bites

Essential Ingredients
To make the perfect Mini brownie recipe, you’ll need a handful of simple ingredients. The key is choosing high-quality items to ensure a rich, chocolatey flavor and the ideal fudgy texture. Here’s a breakdown of the must-haves:
- Unsalted Butter: The foundation of moist and flavorful brownies. Unsalted butter gives you full control over the saltiness of your bites.
- Cocoa Powder: This is where the magic happens. For that deep, chocolatey taste, use unsweetened cocoa powder. You can also experiment with Dutch-processed cocoa powder for a slightly smoother flavor.
- Granulated Sugar: Adds sweetness and helps create that signature shiny, crackly top.
- Eggs: These are the glue that holds the batter together while adding richness and structure. Room-temperature eggs work best as they blend easily with other ingredients.
- All-Purpose Flour: Just a touch of flour is enough to bind everything without making the brownies cakey. Use a light hand to keep them fudgy!
- Chocolate Chips: For a double dose of chocolate, stir in some semi-sweet or dark chocolate chips. You can also substitute chopped chocolate or mini chips for variety.
Optional Add-Ins for Variety
If you’re feeling creative, brownie bites are a perfect canvas for experimentation. Here are some optional ingredients to jazz up your Mini brownie recipe:
- Nuts: Add chopped pecans or walnuts for a crunchy surprise.
- Caramel: Swirl in some caramel for a gooey, sweet twist.
- Candy Pieces: M&M’s, Reese’s pieces, or crushed peppermint candies add color and fun.
- Toppings: Dust with powdered sugar, drizzle with ganache, or add sprinkles for a festive touch.
Using high-quality ingredients and customizing your mix-ins can elevate your brownie bites to gourmet levels. Next, let’s get into how to put these ingredients together!
Step-by-Step Instructions

Prepping the Pan and Oven
Before diving into the batter, start by preheating your oven to 350°F (175°C). Then, grease a mini muffin tin with butter or baking spray to prevent sticking. If you prefer, use parchment paper liners for even easier cleanup. Taking a few moments to prep ensures your Mini brownie recipe will turn out perfectly every time.
Mixing the Base Batter in One Bowl
The beauty of this Mini brownie recipe lies in its simplicity—you can mix everything in just one bowl or saucepan!
- Melt the Butter: In a medium saucepan, melt unsalted butter over medium heat. Once melted, stir in the sugar until combined.
- Add Cocoa Powder and Vanilla: Remove the pan from the heat and mix in the cocoa powder, vanilla extract, and a pinch of salt. Let the mixture cool for about 5 minutes to avoid scrambling the eggs in the next step.
- Incorporate Eggs: Quickly whisk in room-temperature eggs one at a time, ensuring the batter is smooth and glossy.
Combining and Measuring the Ingredients Properly
Now it’s time to bring everything together:
- Add the Flour: Gently fold in all-purpose flour until just combined. Be careful not to overmix, as this can lead to dense, tough brownies.
- Stir in Chocolate Chips: For an extra boost of chocolate, fold in semi-sweet or dark chocolate chips. This step ensures every bite is loaded with melty goodness.
Baking the Perfect Mini Brownies
Finally, scoop the batter into the prepared mini muffin tin. Fill each well about three-quarters full to leave room for the batter to rise slightly. Bake for 12–15 minutes or until the tops are shiny and slightly cracked.
Let the brownies cool in the pan for 10 minutes before transferring them to a wire rack. This step helps them firm up and ensures they won’t crumble when removed from the tin. Enjoy them warm, or store them for later—they’ll taste amazing either way!
In the next section, we’ll share pro tips to make your Mini brownie recipe foolproof. Stay tuned!
Pro Tips for Making Perfect Brownie Bites
Avoiding Common Mistakes
When it comes to crafting the ultimate Mini brownie recipe, a few small errors can make a big difference. To avoid dry or overly dense brownies, keep these tips in mind:
- Don’t overbake: This is one of the most common pitfalls. Pull your brownies out of the oven when the tops are shiny and slightly cracked. If you wait for the centers to fully set, they might turn out too dry.
- Sift clumpy ingredients: Cocoa powder and flour can clump up, leading to uneven batter. Sifting ensures a smooth and consistent mixture.
- Measure your flour correctly: Using too much flour can make your brownies cakey instead of fudgy. Scoop flour into your measuring cup and level it off with a knife for accuracy.
Practical Tips for Success
A few extra tricks can elevate your brownie bites from good to great:
- Use room temperature eggs: Cold eggs can seize the butter or create uneven batter. To quickly warm them up, place the eggs in warm (not hot!) water for a few minutes.
- Let them cool properly: While it’s tempting to dig in right away, allowing the brownies to cool on a wire rack helps them firm up and develop their best flavor.
- Experiment with flavors: Don’t be afraid to personalize your bites with different mix-ins or toppings. Try peanut butter swirls or crushed candy for a fun twist.
For more tips on achieving perfect brownies, check out The Ultimate Guide to Brownies on Vivid Meals.
Storing and Freezing Brownie Bites

How to Store Brownie Bites Properly
If you’ve baked a big batch of these delicious brownie bites, proper storage ensures they stay fresh and tasty:
- Room temperature: Store your brownie bites in an airtight container at room temperature for up to a week. Keep them in a cool, dry place away from direct sunlight.
- Add moisture protection: If you live in a dry climate, you can add a slice of bread to the container. It helps retain moisture, keeping your brownies soft and chewy.
Freezing Tips for Long-Term Enjoyment
Want to save some brownie bites for later? Freezing is a great option:
- Flash-freeze first: Place the cooled brownie bites on a lined baking sheet and freeze them for about an hour.
- Store in freezer bags: Once frozen, transfer the bites to a freezer-safe bag or container. Be sure to remove as much air as possible to prevent freezer burn.
- Thaw and enjoy: When ready to eat, simply let them thaw at room temperature or warm them briefly in the microwave for that fresh-baked feel.
By following these storage and freezing tips, your Mini brownie recipe will stay just as delicious as the day you baked them. Ready to get creative? Next, we’ll explore exciting ways to customize your bites with unique flavors and toppings!
Creative Variations and Customizations
Flavor Innovations to Try
One of the best things about a Mini brownie recipe is how easy it is to customize! Whether you prefer classic flavors or want to experiment with something new, there’s no limit to how you can elevate these bite-sized treats.
- Peanut Butter Swirls: Add a spoonful of creamy or chunky peanut butter to the batter and swirl it in with a toothpick before baking. This creates a nutty surprise in every bite.
- Espresso Infusion: Enhance the chocolate flavor by adding a teaspoon of instant espresso powder to the batter. It gives your brownie bites a rich, sophisticated twist.
- Zesty Orange: Stir in orange zest or a splash of orange extract to add a bright, citrusy note to the brownies.
Topping Suggestions
Toppings can take your Mini brownie recipe to the next level, adding visual appeal and extra flavor. Here are a few ideas to try:
- Ganache or Caramel Drizzles: Once the Mini brownie recipe are cool, drizzle them with chocolate ganache or salted caramel for a gourmet touch.
- Sprinkles or Crushed Candy: Decorate your brownies with colorful sprinkles, crushed peppermint candies, or mini marshmallows for a fun, festive look.
- Chopped Nuts: Sprinkle finely chopped walnuts, pecans, or almonds on top before baking to add a delightful crunch.
Conclusion and Final Tips
Recap of Key Takeaways
Crafting the perfect Mini brownie recipe doesn’t have to be complicated. With a simple ingredient list, easy-to-follow steps, and plenty of creative customization options, these bite-sized desserts are sure to please any crowd. Remember, the key to success is proper measurement, careful baking, and a touch of personal flair through flavors and toppings.
Encouragement to Experiment and Enjoy
Don’t be afraid to experiment with your Mini brownie recipe! Whether you’re adding a swirl of caramel, sprinkling crushed candies on top, or infusing the batter with espresso, these little brownies are a blank canvas for your creativity. So, roll up your sleeves, preheat your oven, and get ready to bake a batch of treats that everyone will love!
FAQs
How Do I Prevent Sticking in the Muffin Pan?
Sticking can be frustrating, but it’s easy to avoid with a little preparation. Make sure to grease your mini muffin pan thoroughly with butter or baking spray. If you’re still concerned, use parchment paper liners for a foolproof solution.
Can I Make Mini brownie recipe Gluten-Free?
Yes, you can! Simply swap the all-purpose flour for a gluten-free alternative like almond flour or a 1:1 gluten-free baking mix. This small change ensures everyone can enjoy your Mini brownie recipe, regardless of dietary restrictions
What’s the Best Way to Serve Brownie Bites for a Party?
Mini brownie recipe are already party-ready, but you can make them even more special. Arrange them on a decorative platter, drizzle with ganache, or add colorful sprinkles to match the event’s theme. For an interactive dessert station, provide toppings like whipped cream, caramel sauce, and crushed cookies for guests to customize their brownies.
With this comprehensive guide, you’re fully equipped to bake a batch of delicious brownie bites that are fudgy, flavorful, and uniquely yours. Happy baking!
How Long Can Mini brownie recipe Be Stored?
You can store your Mini brownie recipe at room temperature in an airtight container for up to a week. If you want to keep them fresh even longer, freeze them for up to two months. Simply thaw at room temperature or warm them slightly before serving for that just-baked flavor.
Can I Use a Regular Muffin Pan Instead of a Mini Pan?
Absolutely! If you don’t have a mini muffin pan, a standard muffin pan works just fine. However, you’ll need to adjust the baking time. Bake for an additional 5–7 minutes, checking for doneness with a toothpick
What Are Some Healthy Substitutions?
If you’re looking to lighten up your Mini brownie recipe, here are a few easy substitutions:
Replace some or all of the butter with applesauce or Greek yogurt for fewer calories and fat.
Swap out white flour for almond flour or oat flour to make the bites gluten-free.
Use a natural sweetener like honey or maple syrup instead of granulated sugar.
Customizing your Mini brownie recipe to fit your lifestyle is simple and rewarding. No matter how you choose to make them, these little treats will be a hit! Next up, we’ll wrap everything up with a quick conclusion and some final tips to perfect your brownice bites.
Conclusion
In the world of desserts, Mini brownie recipe hold a special place as the perfect combination of convenience, flavor, and versatility. This guide has walked you through every step of creating the ultimate Mini brownie recipe—from selecting the best ingredients to mastering baking techniques, experimenting with creative variations, and even storing them for later.
These bite-sized treats are not only fun to make but also endlessly customizable, ensuring there’s always something new to try. Whether you’re baking for a party, a cozy night at home, or just to satisfy your chocolate cravings, brownie bites are guaranteed to delight.
Now it’s your turn to roll up your sleeves and bring your brownie bite creations to life. Don’t forget to share your own twists on the recipe and enjoy every delicious, chocolaty bite!

